UV curing can deliver fast production, but speed alone does not prove a coating or ink has cured properly. A tacky surface, weak adhesion, color shift, or brittle finish can lead to rejected parts and costly rework. Buyers need to assess the full process, not just the lamp specification.
So, what are common uv curing defects and solutions? The answer depends on the material, lamp spectrum, irradiance, exposure time, and part geometry. A glossy surface may still hide undercure beneath it, especially around recessed features or thick ink layers. Small changes matter. Lamp distance, line speed, and substrate temperature can all affect results.
Reliable checks should connect observed defects with measurable performance. ASTM D3359 provides a tape-test method for assessing coating adhesion, while ASTM D5402 outlines solvent-rub testing for organic coatings. These standards do not diagnose every UV-specific problem, but they help buyers compare samples using repeatable methods. RadTech’s UV/EB technical resources also offer industry context on curing technologies and process considerations. Use such references alongside supplier test data, rather than treating a brochure claim as proof.
This guide examines the defects buyers encounter in 2026, from incomplete cure to surface wrinkling, and explains practical ways to investigate them. Ask suppliers for dose and irradiance records, test conditions, and results on your actual substrate. One limitation deserves attention: a single successful sample may not represent an entire production run. Verify performance across realistic operating conditions before approving a process.
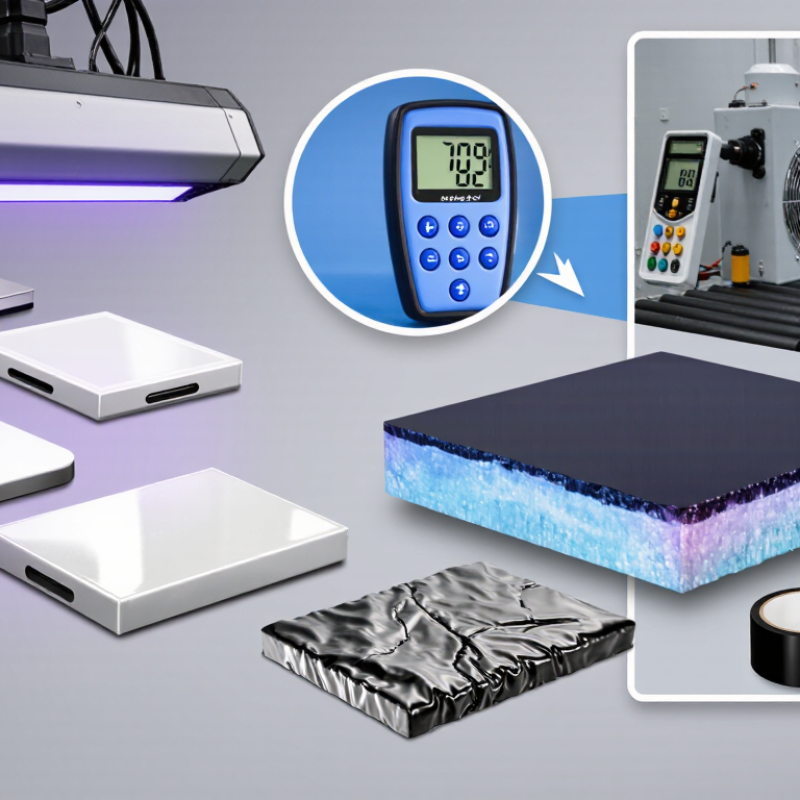
Understanding UV curing starts with one key fact: light must match the photoinitiator’s absorption range. ISO 21348 defines UV-A as 315–400 nm, but a lamp’s wavelength alone cannot confirm a reliable cure. Buyers should check irradiance and total dose at the actual working distance. A radiometer reading near the lamp may not represent exposure across a moving web or a recessed part. Small shadows matter.
Common defects reveal where the process is failing. A tacky surface often points to oxygen inhibition, insufficient dose, or an incompatible photoinitiator. Poor adhesion may come from contamination, excessive film thickness, or weak substrate preparation. Brittle coatings can indicate over-curing or a formulation mismatch. These causes overlap; changing lamp power first is not always the answer. Check the cure window with a dose map, then verify coating performance using a defined method such as ASTM D5402 solvent-rub testing. RadTech’s UV/EB industry guidance also emphasizes process control and measurement, rather than relying on nominal lamp output. Results still depend on coating chemistry and equipment setup. That is easy to underestimate.
| Defect | Common Signs | Likely Causes | Practical Corrective Actions | Buyer Checks Before Purchase |
|---|---|---|---|---|
| Surface tackiness or incomplete cure | Surface remains sticky, soft, or easily marked after exposure. | Insufficient UV dose; lamp wavelength does not match the photoinitiator; excessive coating thickness; oxygen inhibition in some formulations. | Verify irradiance and exposure time; confirm spectral compatibility; reduce film thickness if appropriate; check whether the process requires an inert atmosphere or a formulation designed to address oxygen inhibition. | Request the required wavelength range and dose for the material. Confirm that the proposed source and process can deliver them at the actual working distance and line speed. |
| Under-cure beneath the surface | Top layer appears cured, but the film is soft, weak, or poorly bonded below the surface. | UV light is absorbed or scattered by pigments, fillers, or a thick coating; exposure is insufficient at depth. | Measure cure through the full film thickness; adjust formulation, film build, exposure, or light delivery; consider a compatible longer-wavelength source where appropriate. | Test the actual substrate, color, and coating thickness—not just a clear or thin sample. Ask for depth-of-cure data under representative conditions. |
| Uneven curing across the workpiece | Some areas cure properly while edges, corners, or sections across the web remain soft or tacky. | Non-uniform irradiance; inconsistent lamp-to-part distance; shadowing; dirty optics; uneven part positioning. | Map irradiance across the usable area; keep distance and alignment consistent; clean optical surfaces; redesign the setup to reduce shadows or add suitable exposure directions. | Check the effective curing width and irradiance uniformity. Confirm that fixture design and part geometry will not block the light. |
| Poor adhesion | Cured film peels, flakes, or separates from the substrate during handling or testing. | Contamination, incompatible coating and substrate, inadequate surface preparation, or insufficient cure. | Clean and prepare the substrate using a validated process; check material compatibility; confirm cure conditions; evaluate a suitable primer or surface treatment if required. | Run adhesion tests using the intended substrate and cleaning process. Obtain written compatibility guidance for the specific material combination. |
| Brittleness, cracking, or excessive shrinkage | Film cracks, curls, or loses flexibility after curing. | Formulation shrinkage or excessive crosslinking; coating too thick; substrate and coating respond differently to heat or stress. | Review coating thickness and cure dose; select a formulation with suitable flexibility; check substrate compatibility and the part’s exposure to process heat. | Request flexibility, shrinkage, and adhesion test results relevant to the application. Validate performance after curing and conditioning. |
| Yellowing or discoloration | Clear or light-colored material changes color after exposure or during storage. | Formulation sensitivity, excessive exposure or heat, unsuitable photoinitiator, or material aging. | Check the recommended exposure window; monitor part temperature; evaluate a formulation designed for color stability; compare color before and after curing. | Ask for color-stability data under the intended cure conditions and expected service environment. Test the final material stack. |
| Heat-sensitive substrate distortion | Parts warp, shrink, soften, or show heat-related damage during curing. | Excessive radiant or process heat; long exposure; substrate temperature limits are exceeded. | Measure substrate temperature during production; improve cooling or airflow; optimize exposure and line speed while maintaining the required cure; consider a lower-heat UV source where suitable. | Confirm substrate temperature limits and request operating data at the planned production speed. Include temperature monitoring in the process trial. |
| Inconsistent results over time | Cure quality changes between runs or gradually declines during operation. | Source aging or output drift; contamination; inconsistent settings; changes in material batch, distance, or speed. | Establish routine irradiance checks; record dose, distance, and line speed; clean and maintain the system; control material and process variables. | Review output monitoring, maintenance access, and replacement requirements. Ask how performance can be checked at the workpiece rather than relying only on nominal source ratings. |
The dose may be too low, or oxygen may inhibit surface curing. Check coating thickness, lamp coverage, and photoinitiator compatibility. Measure at the work surface. Not near the lamp.
No. The wavelength must match the photoinitiator’s absorption range. Irradiance and total dose also matter. A suitable wavelength can still produce weak curing.
Record irradiance and dose at the actual working distance. Use a suitable radiometer. Measure across the full curing width, including edges and recessed areas.
Lamp coverage may be uneven, or the part may be poorly positioned. Inspect reflectors, lamp windows, and conveyor alignment. Small shadows matter.
Contamination, excessive film thickness, or weak substrate preparation may cause it. Check dust, oils, surface energy, and coating thickness. A glossy surface proves very little.
Over-curing or a formulation mismatch may make the coating brittle. Check exposure time, dose, and coating chemistry. More energy is not always better.
Request measured irradiance, dose, and uniformity data at the real working distance. Ask for calibration records and independent test results. Test the actual substrate, coating, thickness, and line speed.
Cooling, shielding, interlocks, lamp replacement, and spare parts deserve attention. A fast cure may overheat plastic parts. Short demonstrations can mislead. Real production is less cooperative.
This article explores what are common uv curing defects and solutions, helping buyers understand issues such as tacky surfaces, incomplete curing, poor adhesion, discoloration, and uneven results. It explains how to trace these problems to factors including insufficient UV intensity, inconsistent exposure time, lamp distance, surface contamination, and mismatches between the light source and curing material. Practical troubleshooting steps focus on checking process conditions, preparing surfaces properly, and verifying that the material receives consistent, adequate exposure.
The article also shows how equipment and material choices influence curing quality, from wavelength compatibility and output stability to the formulation and thickness of the coating or adhesive. Before choosing a UV curing system, buyers should assess their application requirements, production speed, curing area, maintenance needs, and process consistency. A careful review of these factors can reduce defects, improve reliability, and support a more suitable purchasing decision.

 LumiCure Light